How-to
Why Is My Nespresso Machine Leaking? How to Fix It
Find the safest first checks for a leaking Nespresso machine, including tank, drip tray, capsule area, milk system, and Original vs Vertuo notes.
By WhichCapsule · Jan 21, 2025, 12:26
How-to
Find the safest first checks for a leaking Nespresso machine, including tank, drip tray, capsule area, milk system, and Original vs Vertuo notes.
By WhichCapsule · Jan 21, 2025, 12:26
A leaking Nespresso machine is annoying, but it does not always mean the machine is broken. Many leaks come from a loose water tank, full drip tray, stuck capsule, dirty outlet, or milk part that has not been reassembled properly. First, isolate where the water is coming from before you keep brewing.
This guide covers safe first checks only. If water appears under the machine, near the power cable, or inside the body, stop using it and contact official support or a qualified repair service. Do not open the machine housing.
If your Nespresso machine is leaking, turn it off, move it away from pooled water, empty the drip tray and capsule container, reseat the water tank, check that no capsule is jammed, wipe the capsule area and outlet, then run a water-only cycle. If the leak comes from the base, continues after these checks, or appears near electrical parts, stop using the machine and get model-specific help.
Dry the counter and place the machine on a clean, flat surface. Add a small amount of water to the tank and watch where the first drops appear.
| Leak Location | Likely Cause | Safe First Action |
|---|---|---|
| Behind or under the water tank | Tank not seated, valve not aligned, cracked tank | Remove, inspect and reseat the tank |
| Front tray area | Drip tray full or not pushed in | Empty, rinse and refit the tray |
| Capsule chamber | Used capsule stuck, wrong capsule, residue around seal | Remove capsule and clean visible residue |
| Coffee outlet | Coffee buildup or slow flow | Rinse outlet and run water-only cycle |
| Milk area | Milk container, tube or frother assembled incorrectly | Clean and reassemble milk parts |
| Under the machine body | Possible internal leak | Stop using and contact support |
Do not troubleshoot while water is pooling around the machine. Turn it off. If the plug or socket area is wet, avoid touching wet electrical parts and make the area safe first. Dry the counter and place a towel under the machine so you can see fresh drips clearly.
A full drip tray can look like a machine leak. Remove the tray, empty it, rinse away coffee residue, dry it, and slide it back until it sits correctly. Also empty the used capsule container. If a used capsule blocks the chamber from closing fully, water may escape around the capsule area instead of flowing through the outlet.
Remove the tank, check the bottom valve area for visible debris, fill it with fresh water, and place it back firmly. Do not force it. If the tank has a visible crack, damaged valve or warped seal, do not rely on tape or improvised fixes. Replacement parts and availability vary by country and model.
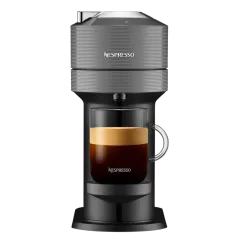
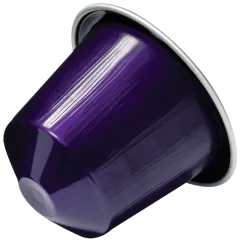
Open the lever or head and make sure no capsule is stuck. For Nespresso Original, only use capsules that match the Original-style system. Some third-party Original-compatible capsules can fit differently, so if a leak happens only with one capsule brand, stop using that capsule and compare with an official Original capsule. For Vertuo, do not treat Original-compatible capsules as compatible. Vertuo machines use Vertuo capsules.
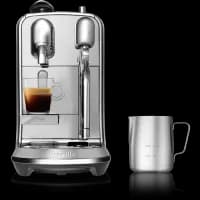
If you use Lattissima-style machines, Creatista-style setups, Aeroccino or another frother, check milk parts separately. A loose milk container, tube or frother part can cause dripping that is not really a coffee-machine leak. Clean milk parts according to the manual and do not put electronic bases in water.
After the basic checks, run one short water-only cycle into a cup. Watch the tank, tray, capsule area and underside. If the leak stops, brew one coffee and watch again. If the leak returns only with certain capsules, the capsule fit may be the issue. If it leaks even with no capsule, the machine may need service.
The biggest mistake is continuing to brew while water collects under the machine. The second is assuming descaling fixes every leak. Descaling may help limescale-related flow issues, but it will not fix a cracked tank, damaged seal, badly seated tray or internal leak. Confirm the exact model before buying parts.
Not if water is under the machine, near the plug, or coming from inside the body. Stop using it and get support.
Not always. A full drip tray, loose water tank, stuck capsule or dirty outlet can cause small leaks.
Sometimes, if the leak is linked to blocked flow. It will not fix cracked parts, poor capsule fit or internal damage.
The safety checks are similar, but capsules, brewing systems and button sequences are different. Always check your exact model.
Guided recommendation
Use the machine quiz if you want a guided recommendation based on drinks, space and daily routine.
Find My MachineWritten reviews are coming soon.
Ratings are live, but no written comments have been added yet.